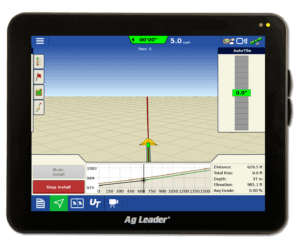
How to create a field boundary
Accurate field boundaries are the foundation of your precision ag program. Not only do these boundaries give you an accurate measure of the actual acres in a field, but they also allow you to calculate chemical, nutrient, and planting requirements efficiently and precisely.
Below are the steps you need to follow to create your own field boundaries.
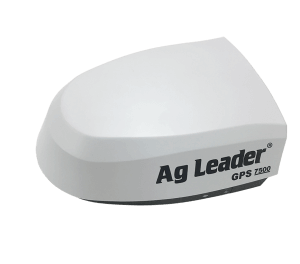
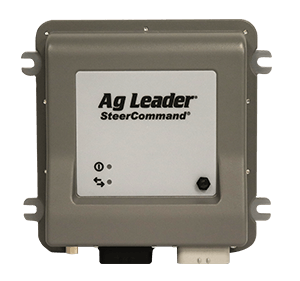
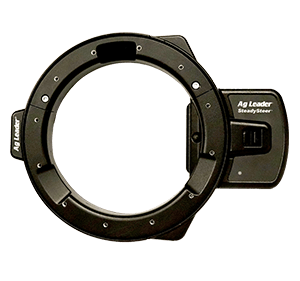
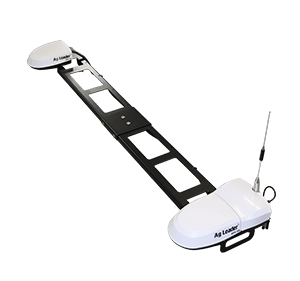
If you’re using a tractor, you should already have the equipment needed to create a field boundary. If you’re using an ATV/UTV, beyond a receiver and a display, you won’t need any additional modules to create a field boundary.
Step 1. Use the highest level of GPS correction available. Ag Leader recommends using a correction service like TerraStar-C Pro or higher to ensure the longevity and repeatability of the boundaries.
Step 2. Using the guidance app on your InCommand® display, select the grower, farm, and field.
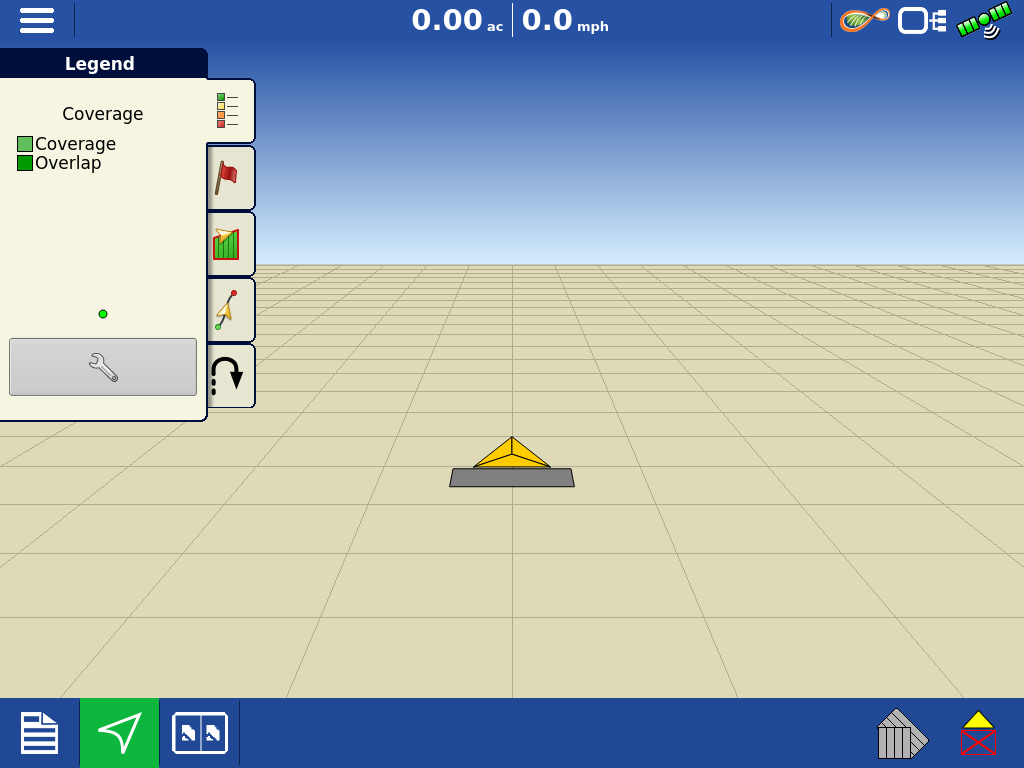
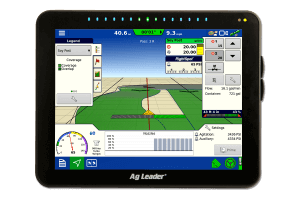
Step 3. Once on the run screen, select the boundary icon (below the red flag) on the left side of the screen and expand it.
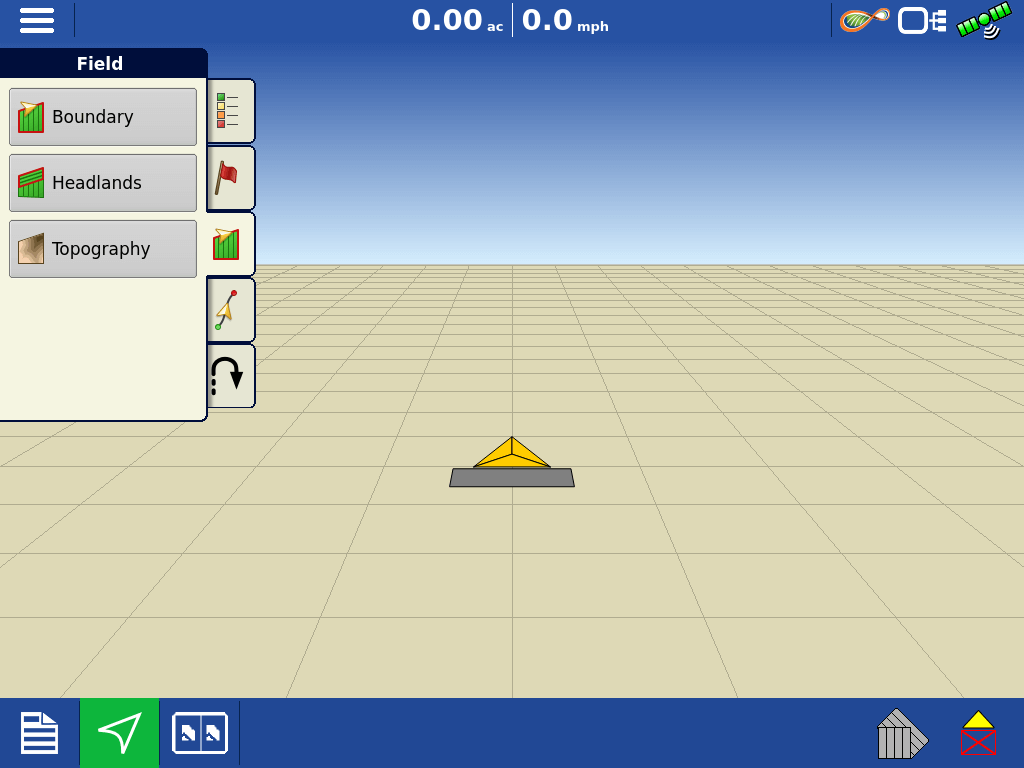
Step 4. An outer boundary must be created first. To create an outer boundary for the field, select the green + sign in the bottom left of the window.
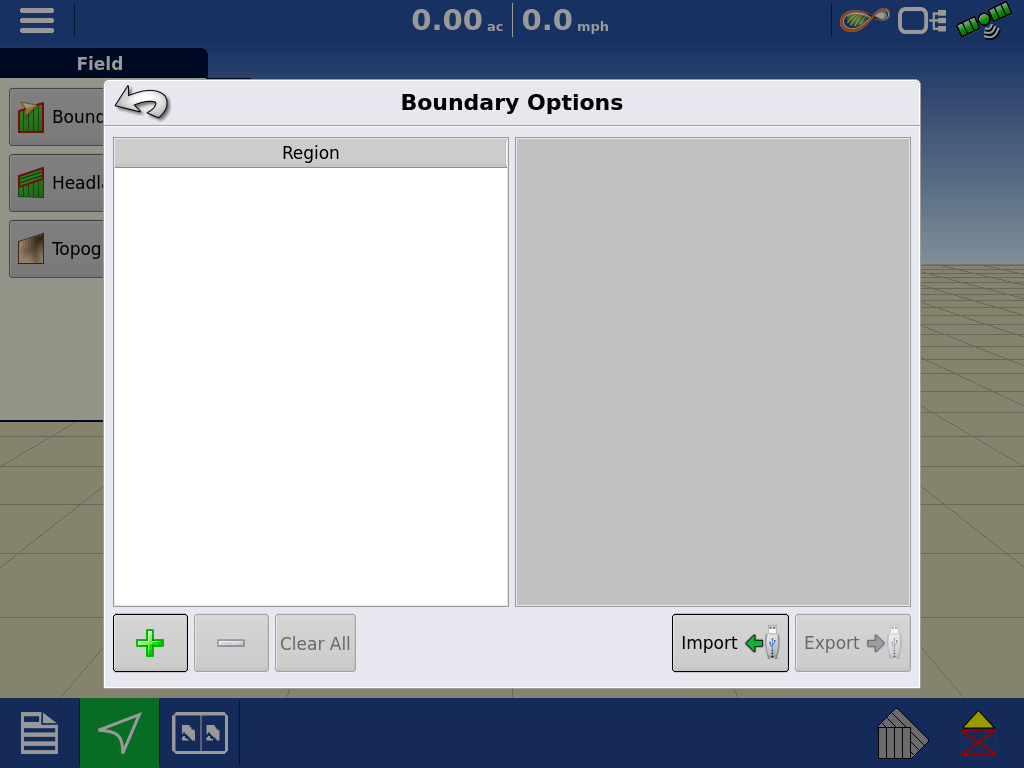
STEP 5. The Boundary settings menu will then appear. You will then select the boundary type (outer or inner option), region type (Options are Roadway, Body of water, Waterway, Buildings, Undefined).
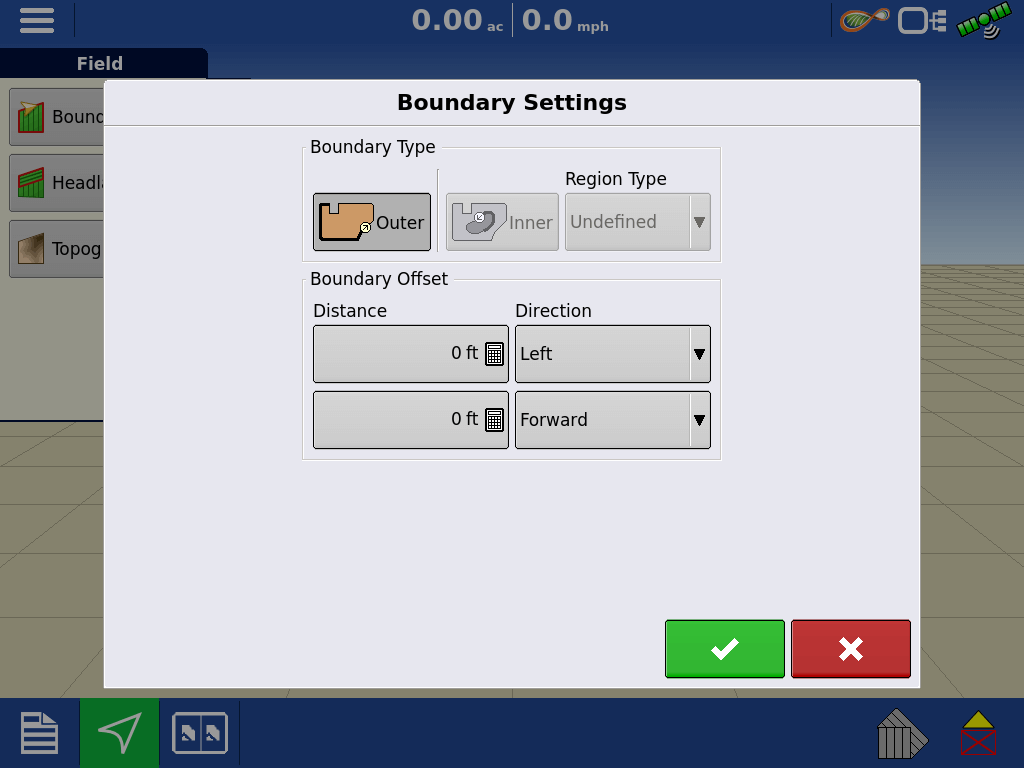
Step 6. Enter the boundary offsets. This refers to where the boundary line will be recorded in relation to the receiver. For example, if the GPS receiver is mounted in the center of the machine, you will either need to:
a. Leave the offset at 0 and have the center of the machine riding on the boundary edge you are creating, OR
b. Enter the applicable distance to the left or right and front and back of your receiver to the boundary edge.
You will then be brought back to the run screen.
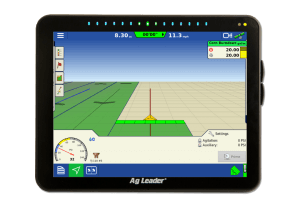
Step 7. Start driving the outer boundary of the field. As you move along the edge of the field, you will notice a line trailing the vehicle on the display, which is your boundary line. The other line, trailing at an angle, is the snap line from your starting point.
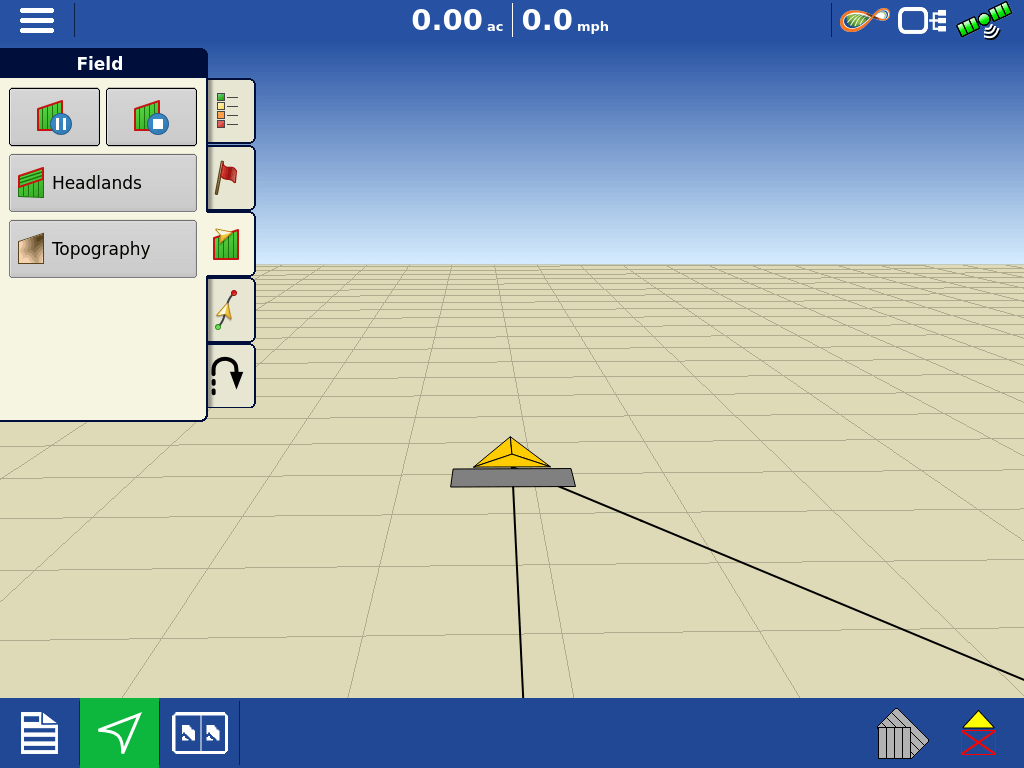
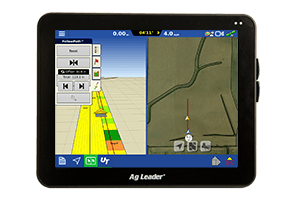
During the creation of a boundary, the Pause/Resume button and Stop button appear at the top of the Field tab.
When creating a boundary, use the Pause Boundary button to create a straight line between two points. To do this, drive the vehicle to a point, press the Pause Boundary button, then drive to the second point. Press the Resume Boundary button to create a straight line between the current point and the pause location.
STEP 8. After the boundary is run, press the Stop button to complete the boundary. At the Boundary screen, choose whether to Save, Resume, or Discard the boundary.
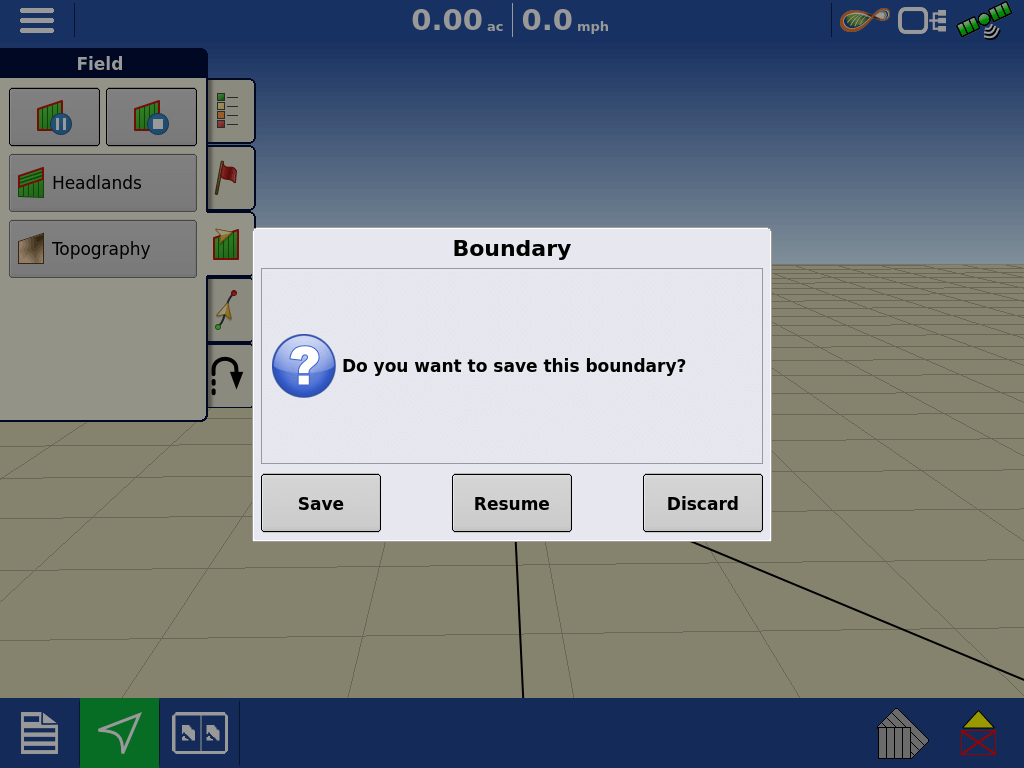
Once the boundary is saved, it will then appear in your Boundary Options menu.
To create more outer boundaries or to add inner boundaries in the same field, repeat steps four through the end of the process for each additional boundary.
NOTE: For waterways or other obstacles that would intersect with an outer boundary, Ag Leader recommends making it a part of the outer boundary. •


