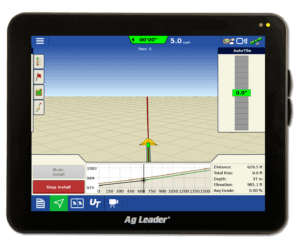
OnTrac2+ and OnTrac2 Tips and Tricks
As we go into our first spring with the new OnTrac2+ we thought it fitting to provide some tips and tricks for successful operation. The chart below provides information about supported displays and operation settings.
|
Device |
Supported Displays |
Ag Leader® Integra/Versa Firmware |
Current EDGE Firmware |
Hertz Rate |
Baud Rate |
CAN |
NMEA Messages |
| OnTrac2 |
EDGE, Ag Leader Integra and Versa displays |
2.X, 3.1 and 3.3 |
5.0 |
5 |
38400 |
CAN B |
GGA, VTG |
| OnTrac2+ |
Ag Leader Integra and Versa displays only |
3.1 and 3.3 |
10 |
38400 |
CAN A |
GGA, VTG |
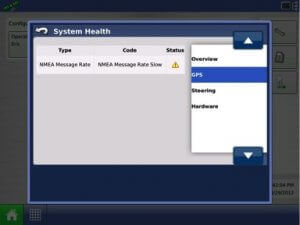
If the output rate on the OnTrac2+ is lower than 10Hz you will see a warning under the System Health button that says “NMEA message rate slow”, shown below.
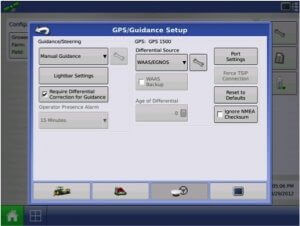
When using a GPS 1500 or GPS 2500 receiver this setting can be changed by going into the GPS Setup screen, selecting Port Settings and changing the output rate.
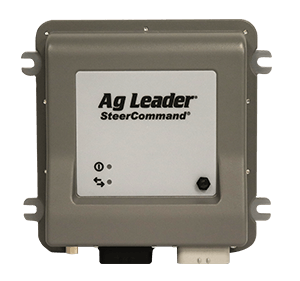
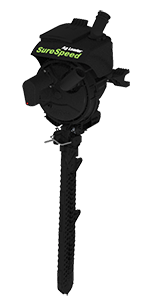
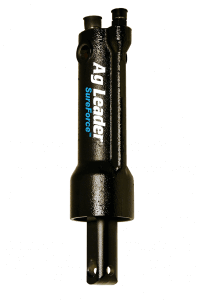
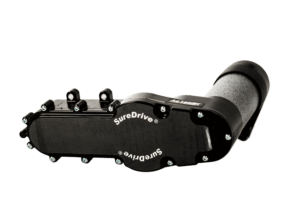
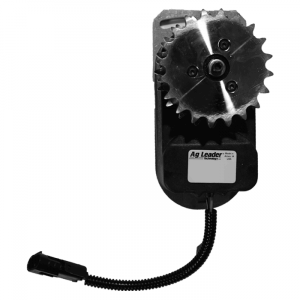
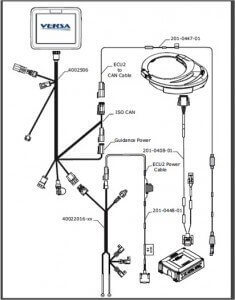
The switch to the new ECU has also brought a change in cabling. The OnTrac2+ kit will now include two cables. The first one connects the ECU to the Mechanical Drive Unit (MDU). This cable has a connection for a remote engage switch as well. The second cable is for power and data transfer. The deutsch connector on this cable connects to your power cable. The CAN DISPLAY connector connects to the CAN connection on your display cable. The CAN OUT connector is used for all other controllers. If you are using any modules that require CAN communication CAN OUT on the ECU4 Power/Data Cable is where they will now connect. The CAN OUT connection should be terminated. If it is not terminated you are likely to experience intermittent operation failures.
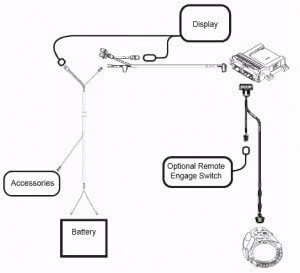
Ag Leader has also released a new display cable. With this release there is also a change in the way the OnTrac2 is hooked up.
Hardware Recommendations
- Remote Engage Foot Pedal
- Recommended when using both the OnTrac2 and OnTrac2+ for easy alternative to on screen button
- Electronic Control Unit (ECU)
- Must be firmly mounted to the floor of the tractor.
- The ECU contains terrain compensation sensors simply setting it on the floor will cause poor operation.
Once you have installed the display, ECU and MDU and connected all of the cabling for your OnTrac2 or OnTrac2+ it is time to perform a calibration. After the calibration make any recommended changes from below. Vehicle Set-up and Tuning Recommendations
- Offsets
- Automatically populated offsets are not always correct for your particular machine.
- Be sure to measure all offsets to be sure they are correct.
- Manual Override
- OnTrac2: 600-750
- OnTrac2+: 900-1500
- Start at default and work your way up.
- Minimum Motor Output
- We have seen this typically be lower on the OnTrac2+ than it was on the OnTrac2
To get everything dialed in some additional tuning adjustments may be required at this point. If you need assistance with this consult your local dealer or contact Ag Leader Technical Support at 515-232-5363, we would be glad to assist you in any way we can.


